Cloudflare API Shield を触ってみる
このページでは、Cloudflareが提供するAPIセキュリティ機能「API Shield」の主要機能と、その設定手順について解説しています。
Cloudflare API Shield とは
Section titled “Cloudflare API Shield とは”Cloudflare API Shield は、Cloudflare が提供する API セキュリティ保護のための機能です。API に対する不正アクセスや攻撃からの保護を強化するために設計されており、API 利用において、セキュリティとパフォーマンスの両方を維持するためのさまざまなツールを提供しています。
主な機能には以下のようなものがあります:
- mTLS(Mutual TLS):クライアント証明書による相互認証により、許可されたクライアントのみが API にアクセス可能になります。
- JWT(JSON Web Token)検証:API リクエストに含まれる JWT の署名を検証し、不正なトークンを持つリクエストをブロックします。
- Schema Validation:API リクエストを事前定義されたスキーマ(JSON Schema など)と比較し、意図しないデータの流入や不正リクエストを検出してブロックします。
- レート制限と DDoS 保護:API への過剰アクセスを防ぎ、過負荷や攻撃によるダウンを防止します。
API Shield は、API のセキュリティレベルを高めるための包括的なツールキットで、特にデータのプライバシーやコンプライアンスが重視される環境で有用です。
httpbin.org の利用
Section titled “httpbin.org の利用”API を作成するのは手間がかかるため、既存のサービスを利用します。
http://httpbin.org/
まず、httpbin.org に対して curl コマンドを実行します。
curl -X POST "https://httpbin.org/post" \-H "accept: application/json" \-H "Content-Type: application/json" \-d '{msg: "hello"}'レスポンスデータは以下のような内容になります。
{ "args": {}, "data": "{msg: \"hello\"}", "files": {}, "form": {}, "headers": { "Accept": "application/json", "Content-Length": "14", "Content-Type": "application/json", "Host": "httpbin.org", "User-Agent": "curl/8.10.1", "X-Amzn-Trace-Id": "Root=1-672f3527-7581258251f4856f4279d013" }, "json": null, "origin": "104.28.211.105", "url": "http://httpbin.org/post"}API を Cloudflare 経由で利用するために DNS 設定を行います。
DNS 設定
Section titled “DNS 設定”Cloudflare の管理画面で「レコード」を選択します。
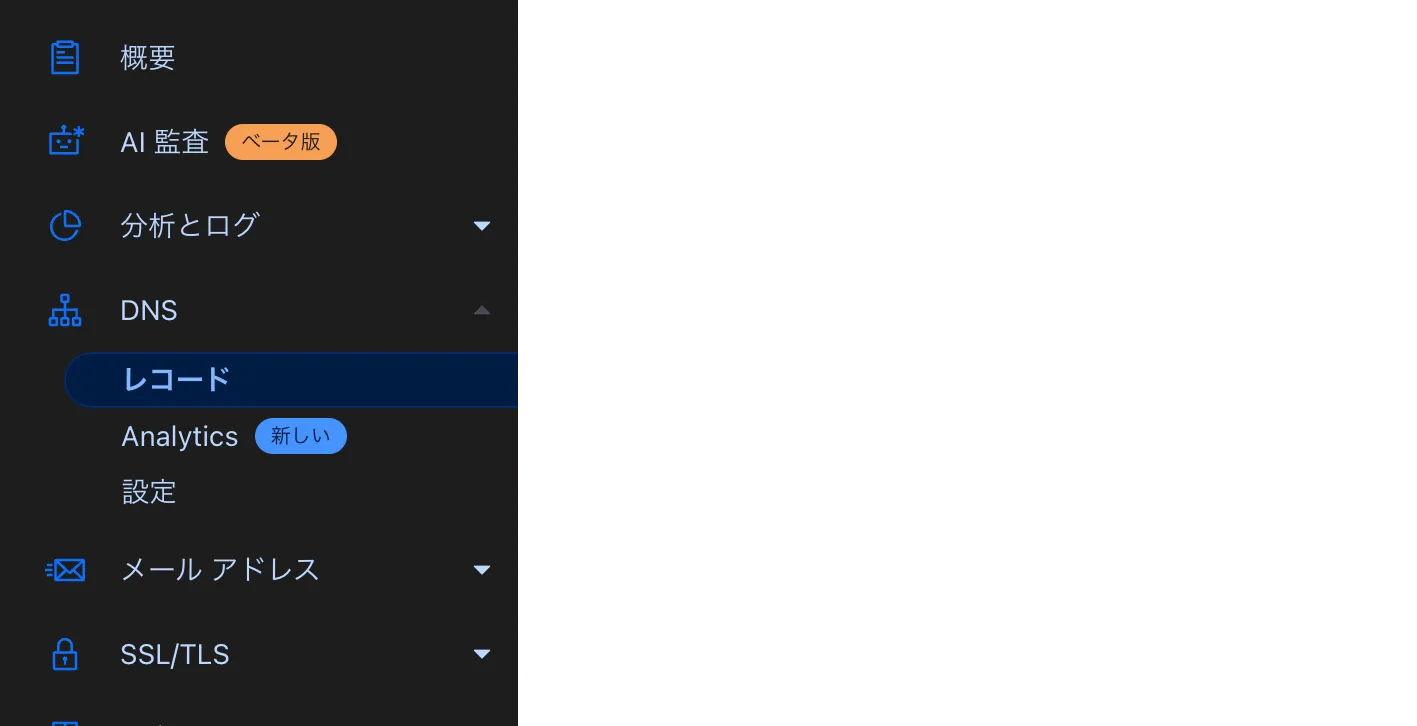
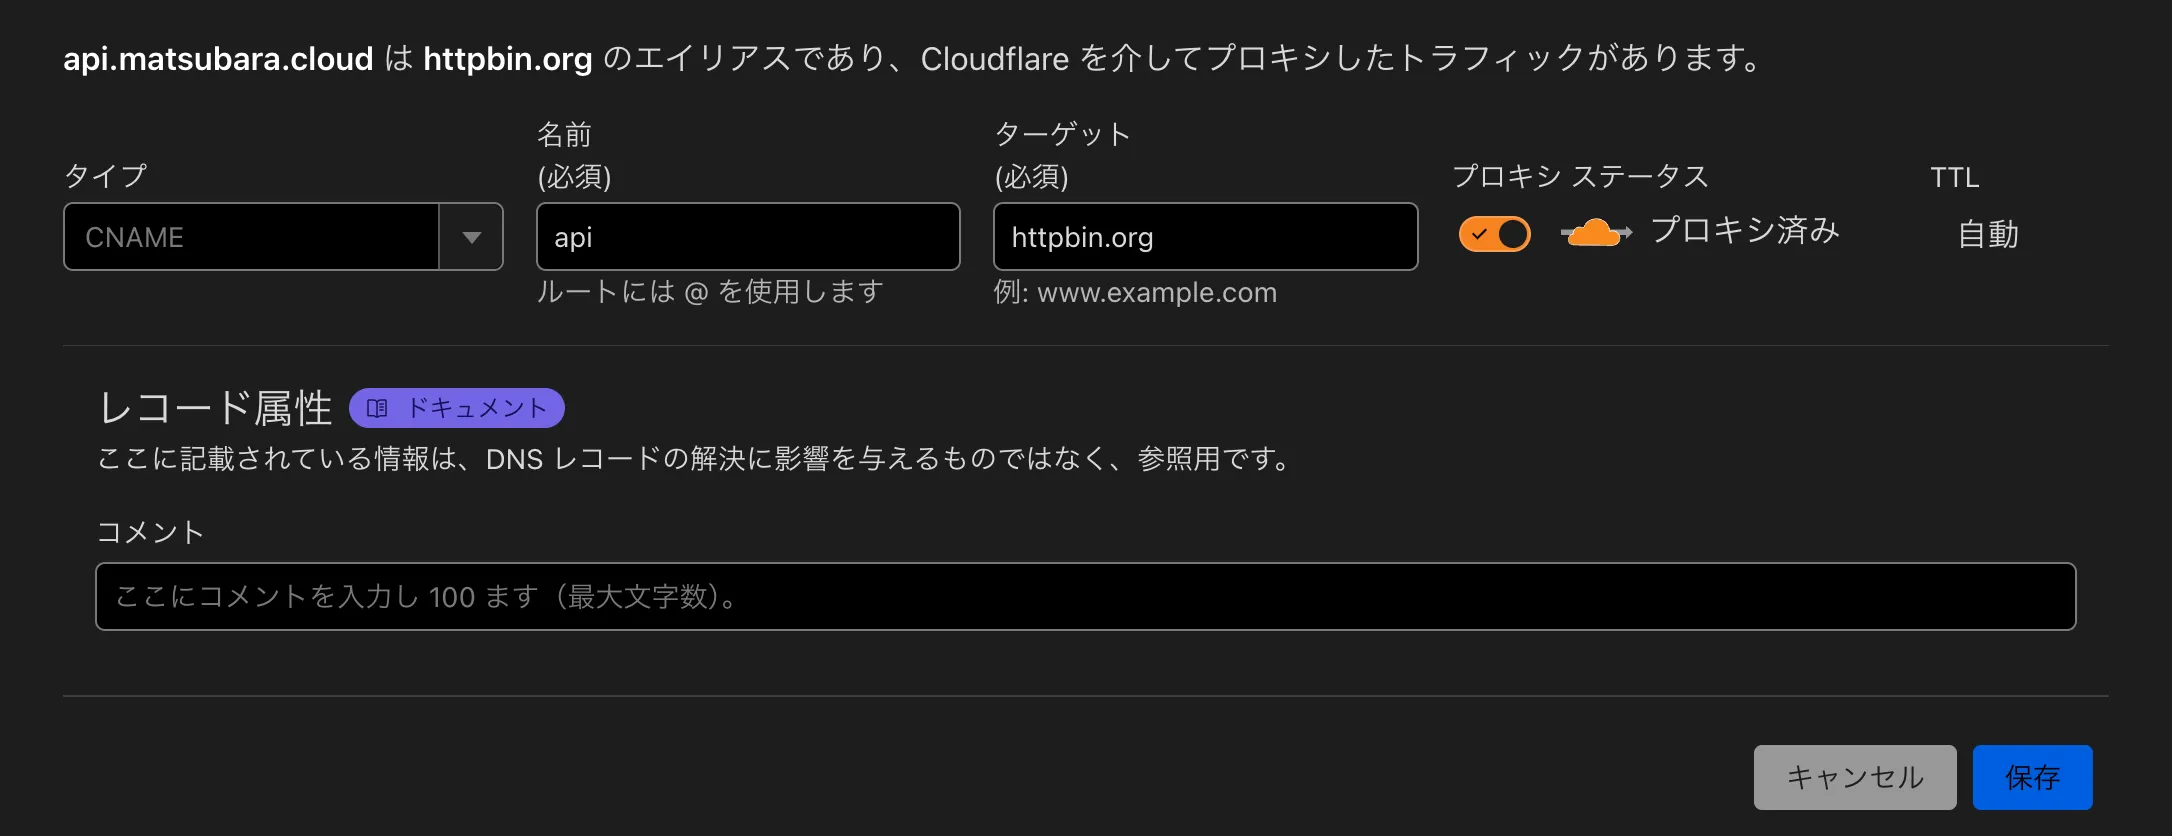
CNAME レコードを追加します。
DNS 設定が反映されているか確認するため、以下のコマンドを実行します。
curl -X POST "https://api.matsubara.cloud/post" \-H "accept: application/json" \-H "Content-Type: application/json" \-d '{"msg": "hello"}'レスポンスデータは以下のようになります。
{ "args": {}, "data": "{\"msg\": \"hello\"}", "files": {}, "form": {}, "headers": { "Accept": "application/json", "Accept-Encoding": "gzip, br", "Cdn-Loop": "cloudflare; loops=1", "Cf-Connecting-Ip": "2a09:bac5:4306:25e1::3c6:25", "Cf-Ipcountry": "JP", "Cf-Ray": "8dfd158ec829e383-NRT", "Cf-Visitor": "{\"scheme\":\"https\"}", "Content-Length": "14", "Content-Type": "application/json", "Host": "api.matsubara.cloud", "User-Agent": "curl/8.10.1", "X-Amzn-Trace-Id": "Root=1-672f37fd-0e601ecf6a385a712b529ff8" }, "json": null, "origin": "2a09:bac5:4306:25e1::3c6:25, 172.71.8.30", "url": "http://api.matsubara.cloud/post"}まず、openssl コマンドで証明書情報を確認します。
openssl s_client -verify 5 \-connect $(dig +short @1.1.1.1 api.matsubara.cloud | head -n 1):443 \-servername api.matsubara.cloud \-quiet -state結果は以下のようになります。
verify depth is 5Connecting to 172.67.189.209SSL_connect:before SSL initializationSSL_connect:SSLv3/TLS write client helloSSL_connect:SSLv3/TLS write client helloSSL_connect:SSLv3/TLS read server helloSSL_connect:TLSv1.3 read encrypted extensionsdepth=2 C=US, O=Google Trust Services LLC, CN=GTS Root R4verify return:1depth=1 C=US, O=Google Trust Services, CN=WE1verify return:1depth=0 CN=matsubara.cloudverify return:1SSL_connect:SSLv3/TLS read server certificateSSL_connect:TLSv1.3 read server certificate verifySSL_connect:SSLv3/TLS read finishedSSL_connect:SSLv3/TLS write change cipher specSSL_connect:SSLv3/TLS write finishedSSL_connect:SSL negotiation finished successfullySSL_connect:SSL negotiation finished successfullySSL_connect:SSLv3/TLS read server session ticketSSL_connect:SSL negotiation finished successfullySSL_connect:SSL negotiation finished successfullySSL_connect:SSLv3/TLS read server session ticketSSL3 alert read:warning:close notifySSL3 alert write:warning:close notifymTLS 設定
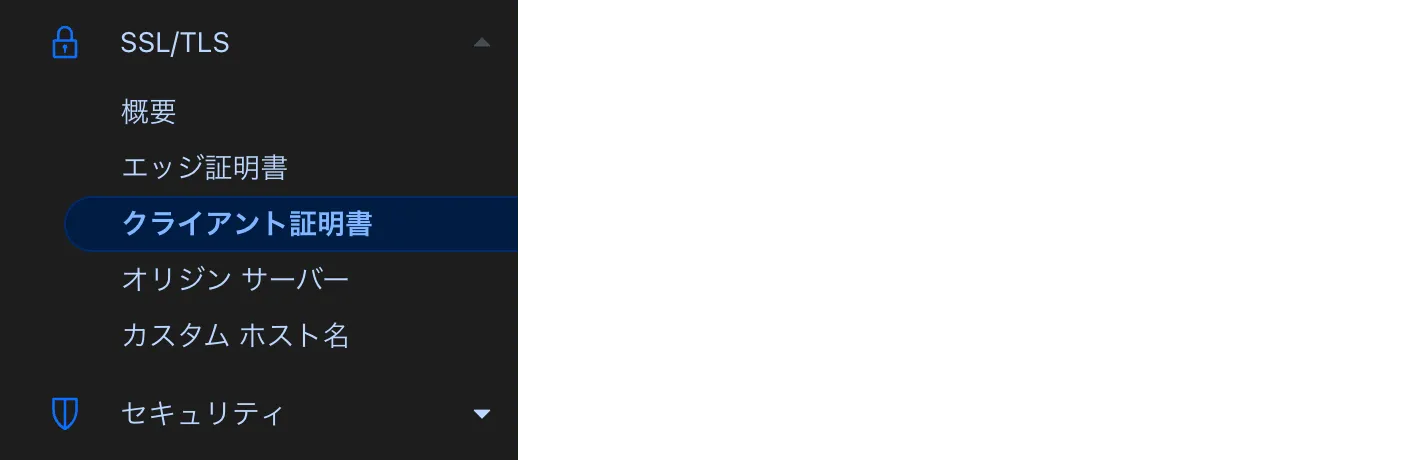
Section titled “mTLS 設定”Cloudflare の管理画面で「クライアント証明書」を選択します。
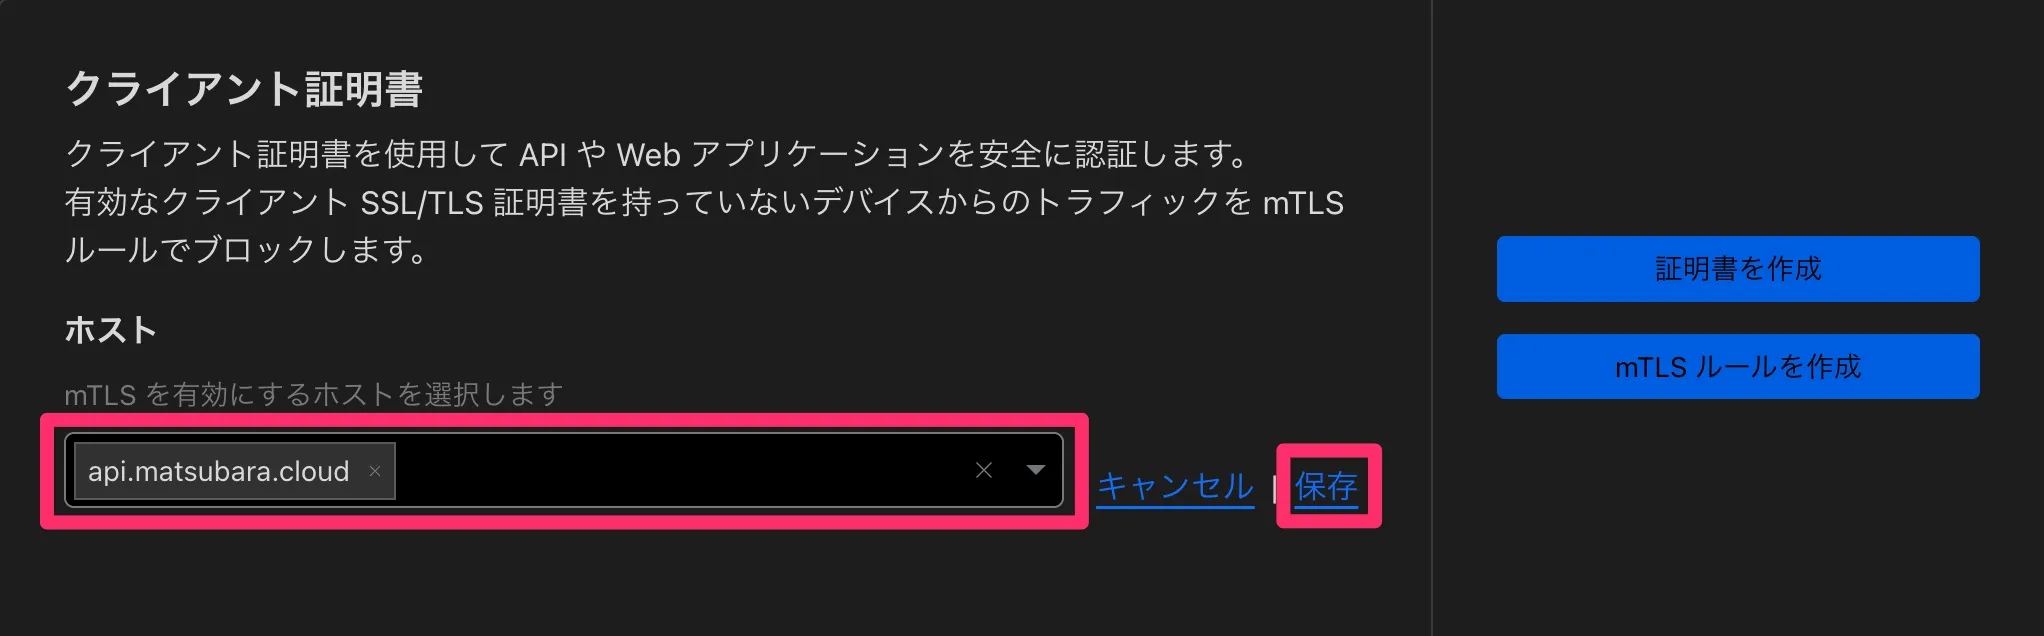
ターゲットとなるホストを入力して「保存」をクリックします。
再度 openssl コマンドで証明書情報を確認します。
verify depth is 5Connecting to 104.21.33.106SSL_connect:before SSL initializationSSL_connect:SSLv3/TLS write client helloSSL_connect:SSLv3/TLS write client helloSSL_connect:SSLv3/TLS read server helloSSL_connect:TLSv1.3 read encrypted extensionsSSL_connect:SSLv3/TLS read server certificate requestdepth=2 C=US, O=Google Trust Services LLC, CN=GTS Root R4verify return:1depth=1 C=US, O=Google Trust Services, CN=WE1verify return:1depth=0 CN=matsubara.cloudverify return:1SSL_connect:SSLv3/TLS read server certificateSSL_connect:TLSv1.3 read server certificate verifySSL_connect:SSLv3/TLS read finishedSSL_connect:SSLv3/TLS write change cipher specSSL_connect:SSLv3/TLS write client certificateSSL_connect:SSLv3/TLS write finishedSSL_connect:SSL negotiation finished successfullySSL_connect:SSL negotiation finished successfullySSL_connect:SSLv3/TLS read server session ticketSSL_connect:SSL negotiation finished successfullySSL_connect:SSL negotiation finished successfullySSL_connect:SSLv3/TLS read server session ticketSSL3 alert read:warning:close notifySSL3 alert write:warning:close notify次のメッセージが表示され、クライアント証明書が要求されていることが確認できます。
SSL_connect:SSLv3/TLS read server certificate requestmTLS ルール設定
Section titled “mTLS ルール設定”クライアント証明書がない場合に通信をブロックするルールを設定します。
「mTLS ルールを作成」を選択します。
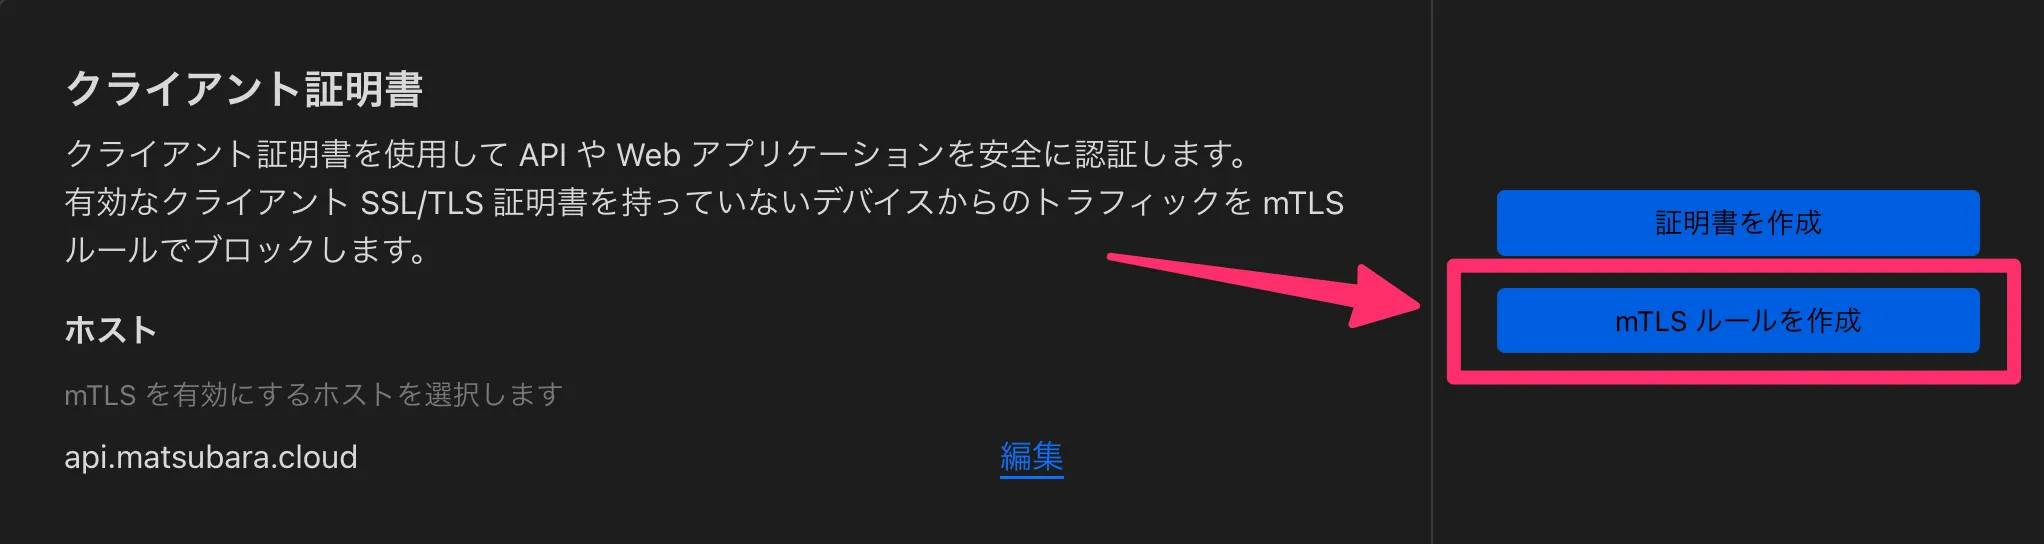
有効なクライアント証明書が提示されず、かつ指定ホスト名と一致する場合にブロックするルールを設定します。

ルールを適用した後に、再度 curl コマンドを実行します。
curl -I "https://api.matsubara.cloud"クライアント証明書がないため、403 ステータスが返ります。
HTTP/2 403date: Sat, 09 Nov 2024 10:59:59 GMTcontent-type: text/html; charset=UTF-8x-frame-options: SAMEORIGINreferrer-policy: same-origincache-control: max-age=15expires: Sat, 09 Nov 2024 11:00:14 GMTreport-to: {"endpoints":[{"url":"https:\/\/a.nel.cloudflare.com\/report\/v4?s=WVBMMDqTPnClF9QvoicBhQA6eIvg3bXnxuCk1J7b5rLJWecFxU1CL7vCUnToJUA%2BRLixDwA2cMxVND3wlM3zVmUUTP%2BzUq2WZLv0LjGfkwUMZtLYP5G26lpjwamUmdBl2tb%2FlY9DfP2zf8dV3suzG1Mh"}],"group":"cf-nel","max_age":604800}nel: {"success_fraction":0,"report_to":"cf-nel","max_age":604800}server: cloudflarecf-ray: 8dfd4be74d5be383-NRTserver-timing: cfL4;desc="?proto=TCP&rtt=0&sent=0&recv=0&lost=0&retrans=0&sent_bytes=0&recv_bytes=0&delivery_rate=0&cwnd=0&unsent_bytes=0&cid=f2b56113f63e328f&ts=23&x=0"クライアント証明書 作成
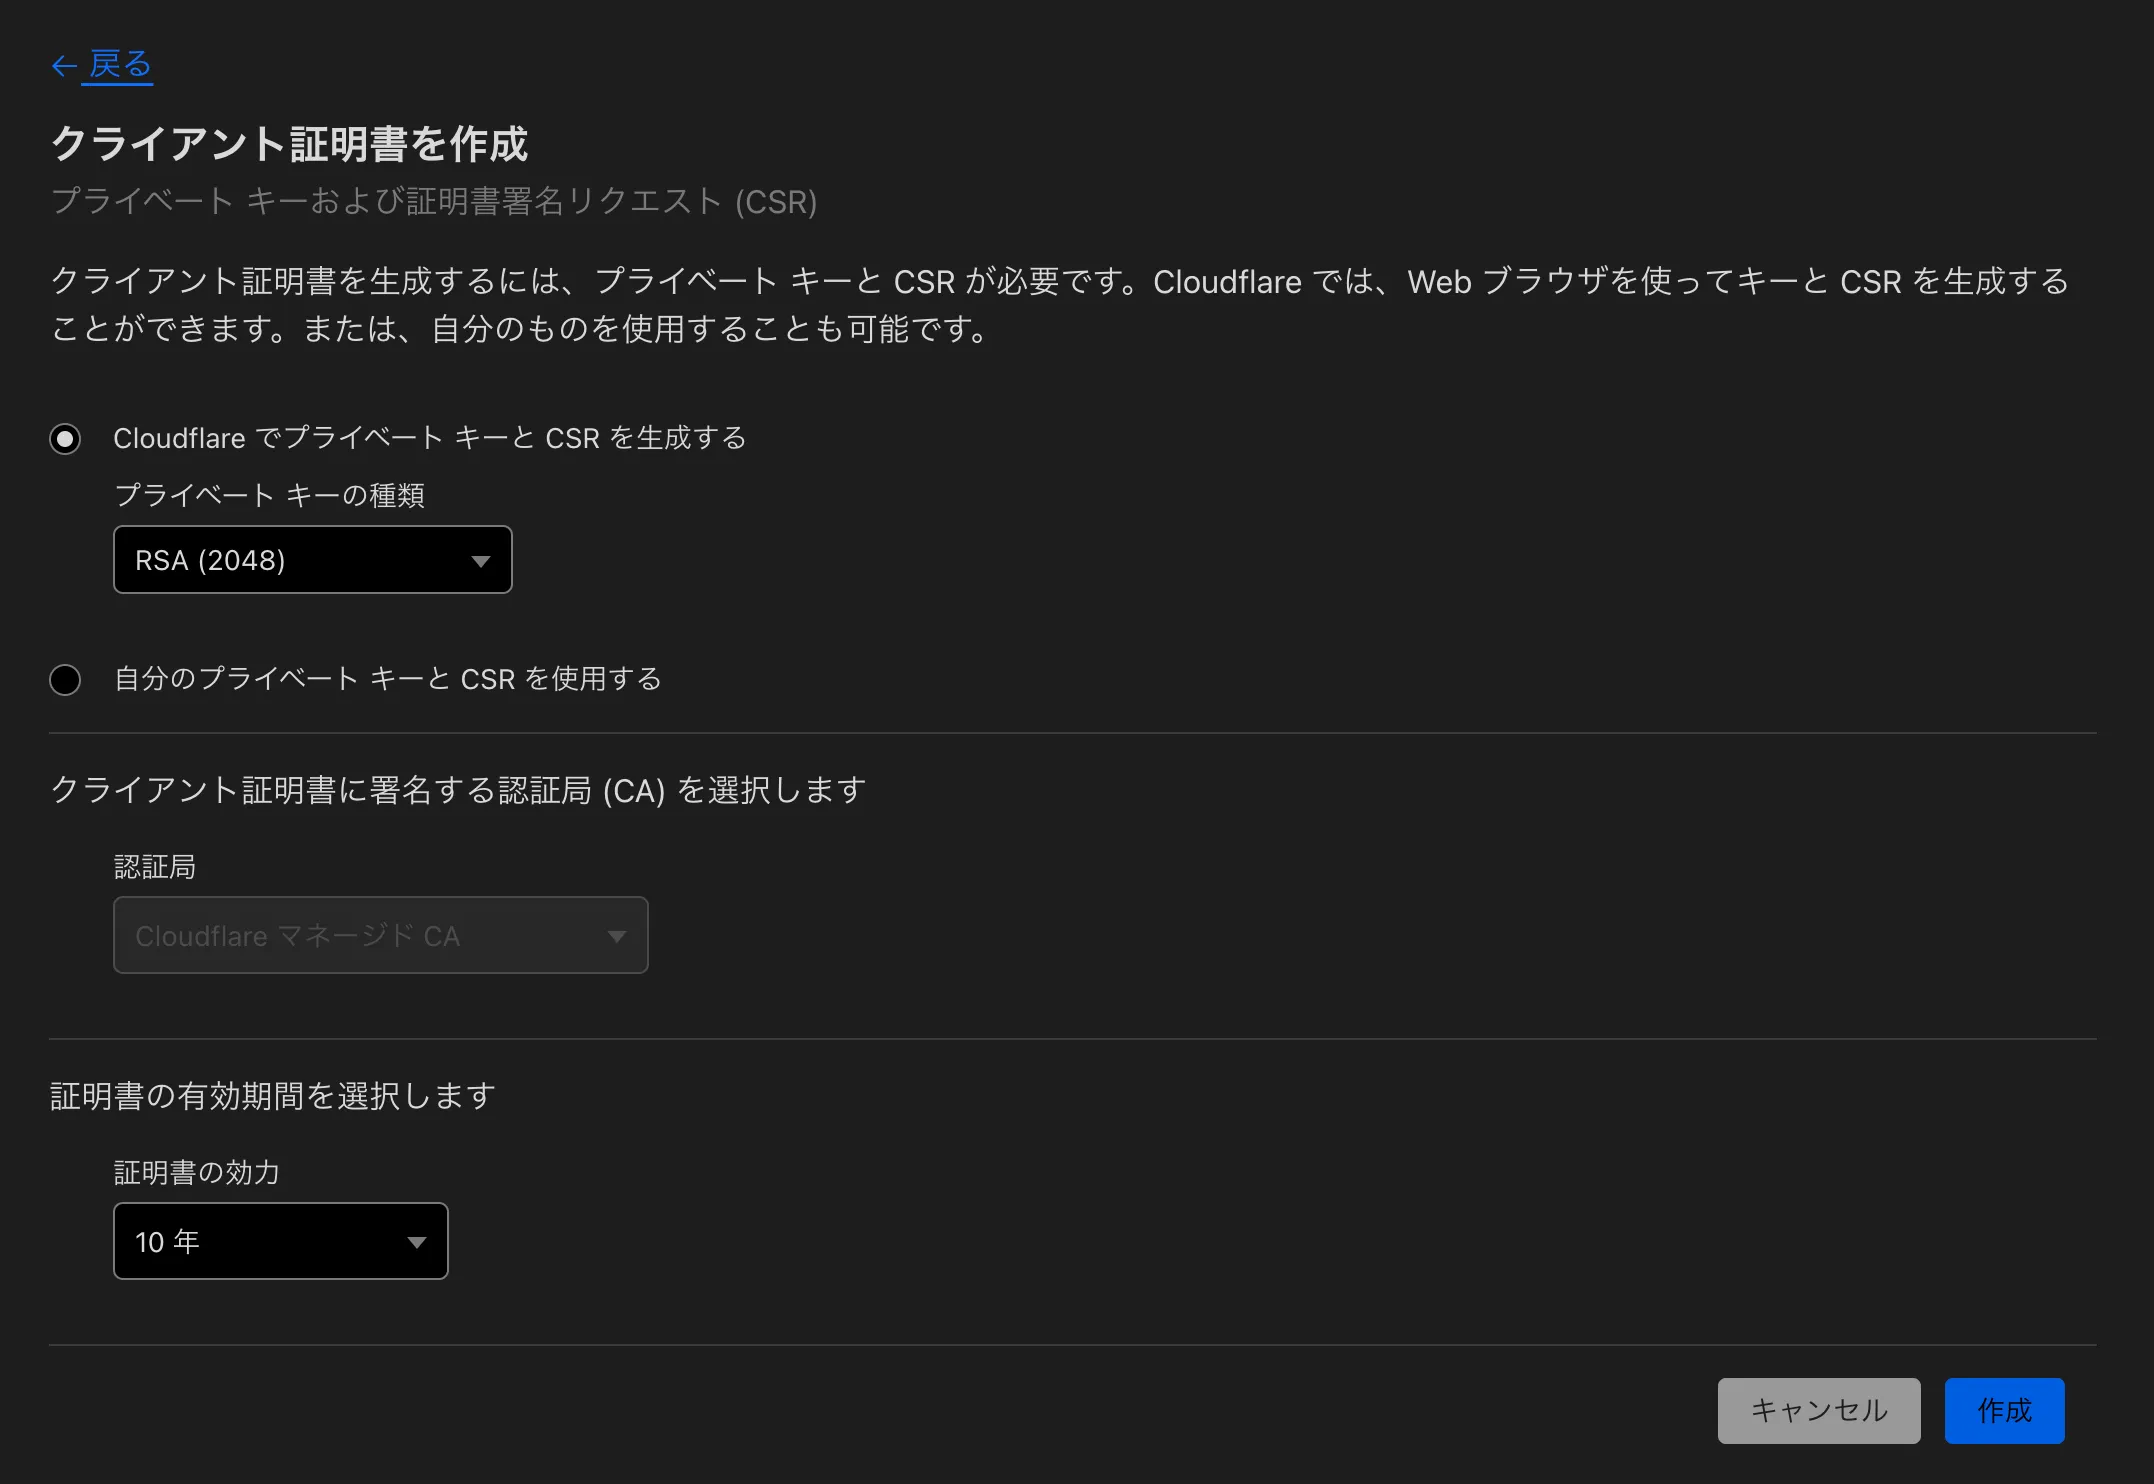
Section titled “クライアント証明書 作成”再び「クライアント証明書」画面に戻り、「証明書を作成」を選択します。

デフォルト設定のまま「作成」を選択します。
発行されたクライアント証明書と秘密鍵をローカルファイル cf_client.pem, cf_client.key に保存します。
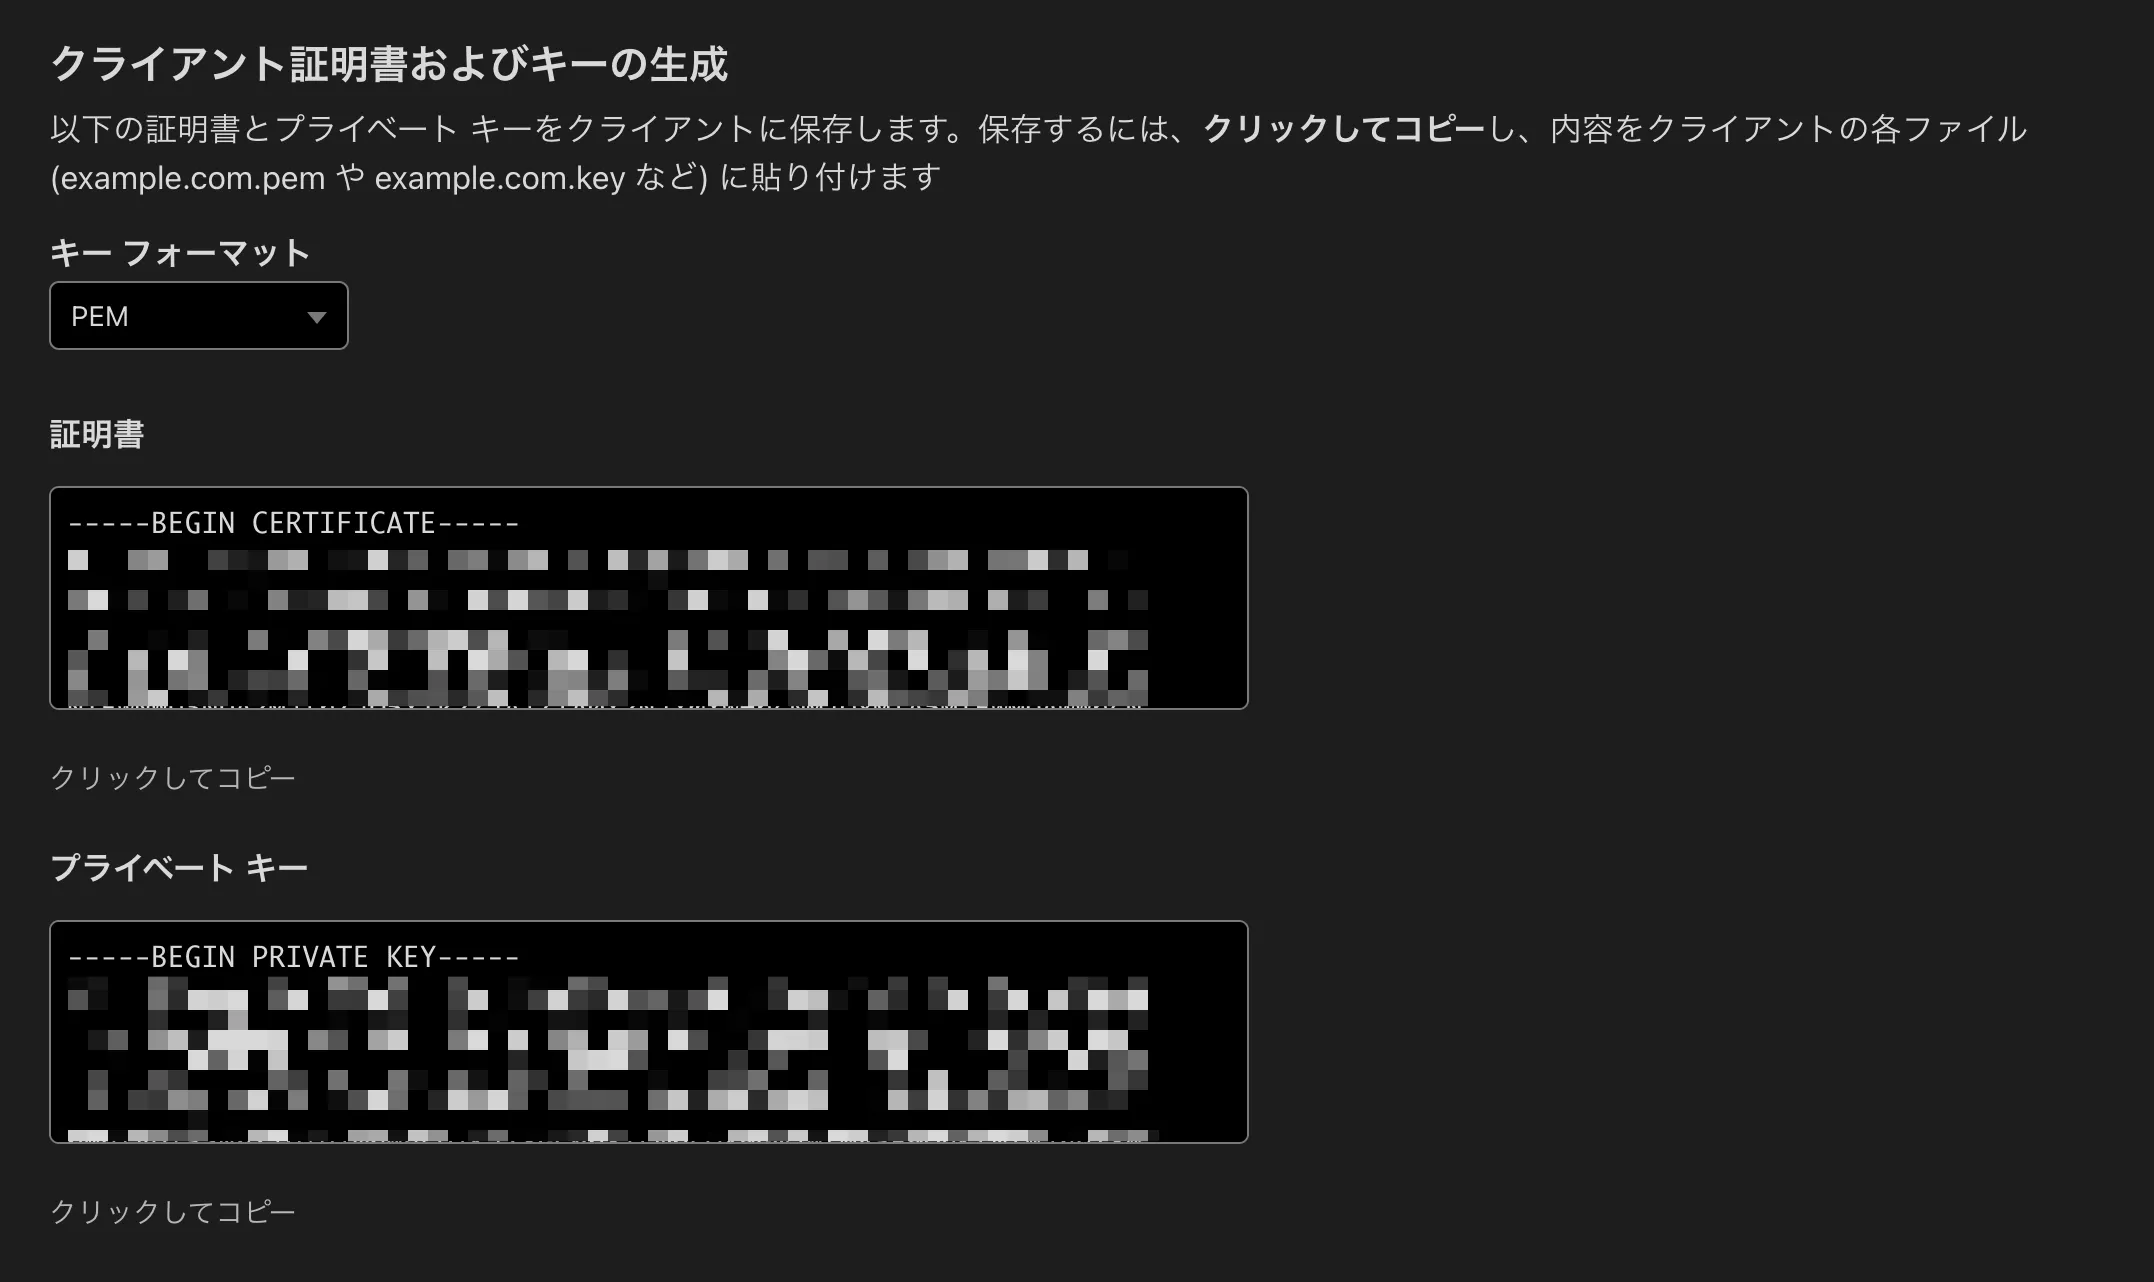
保存したクライアント証明書と秘密鍵を指定して、curl コマンドを実行します。
curl -I "https://api.matsubara.cloud" \--cert cf_client.pem \--key cf_client.key正常に 200 レスポンスが返ってくることが確認できます。
HTTP/2 200date: Sat, 09 Nov 2024 11:09:51 GMTcontent-type: text/html; charset=utf-8access-control-allow-origin: *access-control-allow-credentials: truecf-cache-status: DYNAMICreport-to: {"endpoints":[{"url":"https:\/\/a.nel.cloudflare.com\/report\/v4?s=nPhim%2BNHLdt7zE28ui0gmCwqk86EB72ucqYzfR2p5t9cbd5PREG44JoyMuF%2BIW6FLK5WWxUfVtIWvBaHCUYrbTJlLGTN7vjcqr1oNBGeoTXfSG2r38YES89HDv%2BMWPoMU%2FDA8mPKhKkgJT3xjEmUt0Ls"}],"group":"cf-nel","max_age":604800}nel: {"success_fraction":0,"report_to":"cf-nel","max_age":604800}server: cloudflarecf-ray: 8dfd5a5cfc6de383-NRTserver-timing: cfL4;desc="?proto=TCP&rtt=0&sent=0&recv=0&lost=0&retrans=0&sent_bytes=0&recv_bytes=0&delivery_rate=0&cwnd=0&unsent_bytes=0&cid=a764173eb40b94f0&ts=376&x=0"クライアント証明書による相互認証を設定することで、許可されたクライアントのみが API にアクセスできるようになりました。
Schema Validation
Section titled “Schema Validation”エンドポイント追加
Section titled “エンドポイント追加”Cloudflare の管理画面で「API Shield」を選択します。

「エンドポイントの追加」をクリックします。

「スキーマのアップロード」をクリックします。
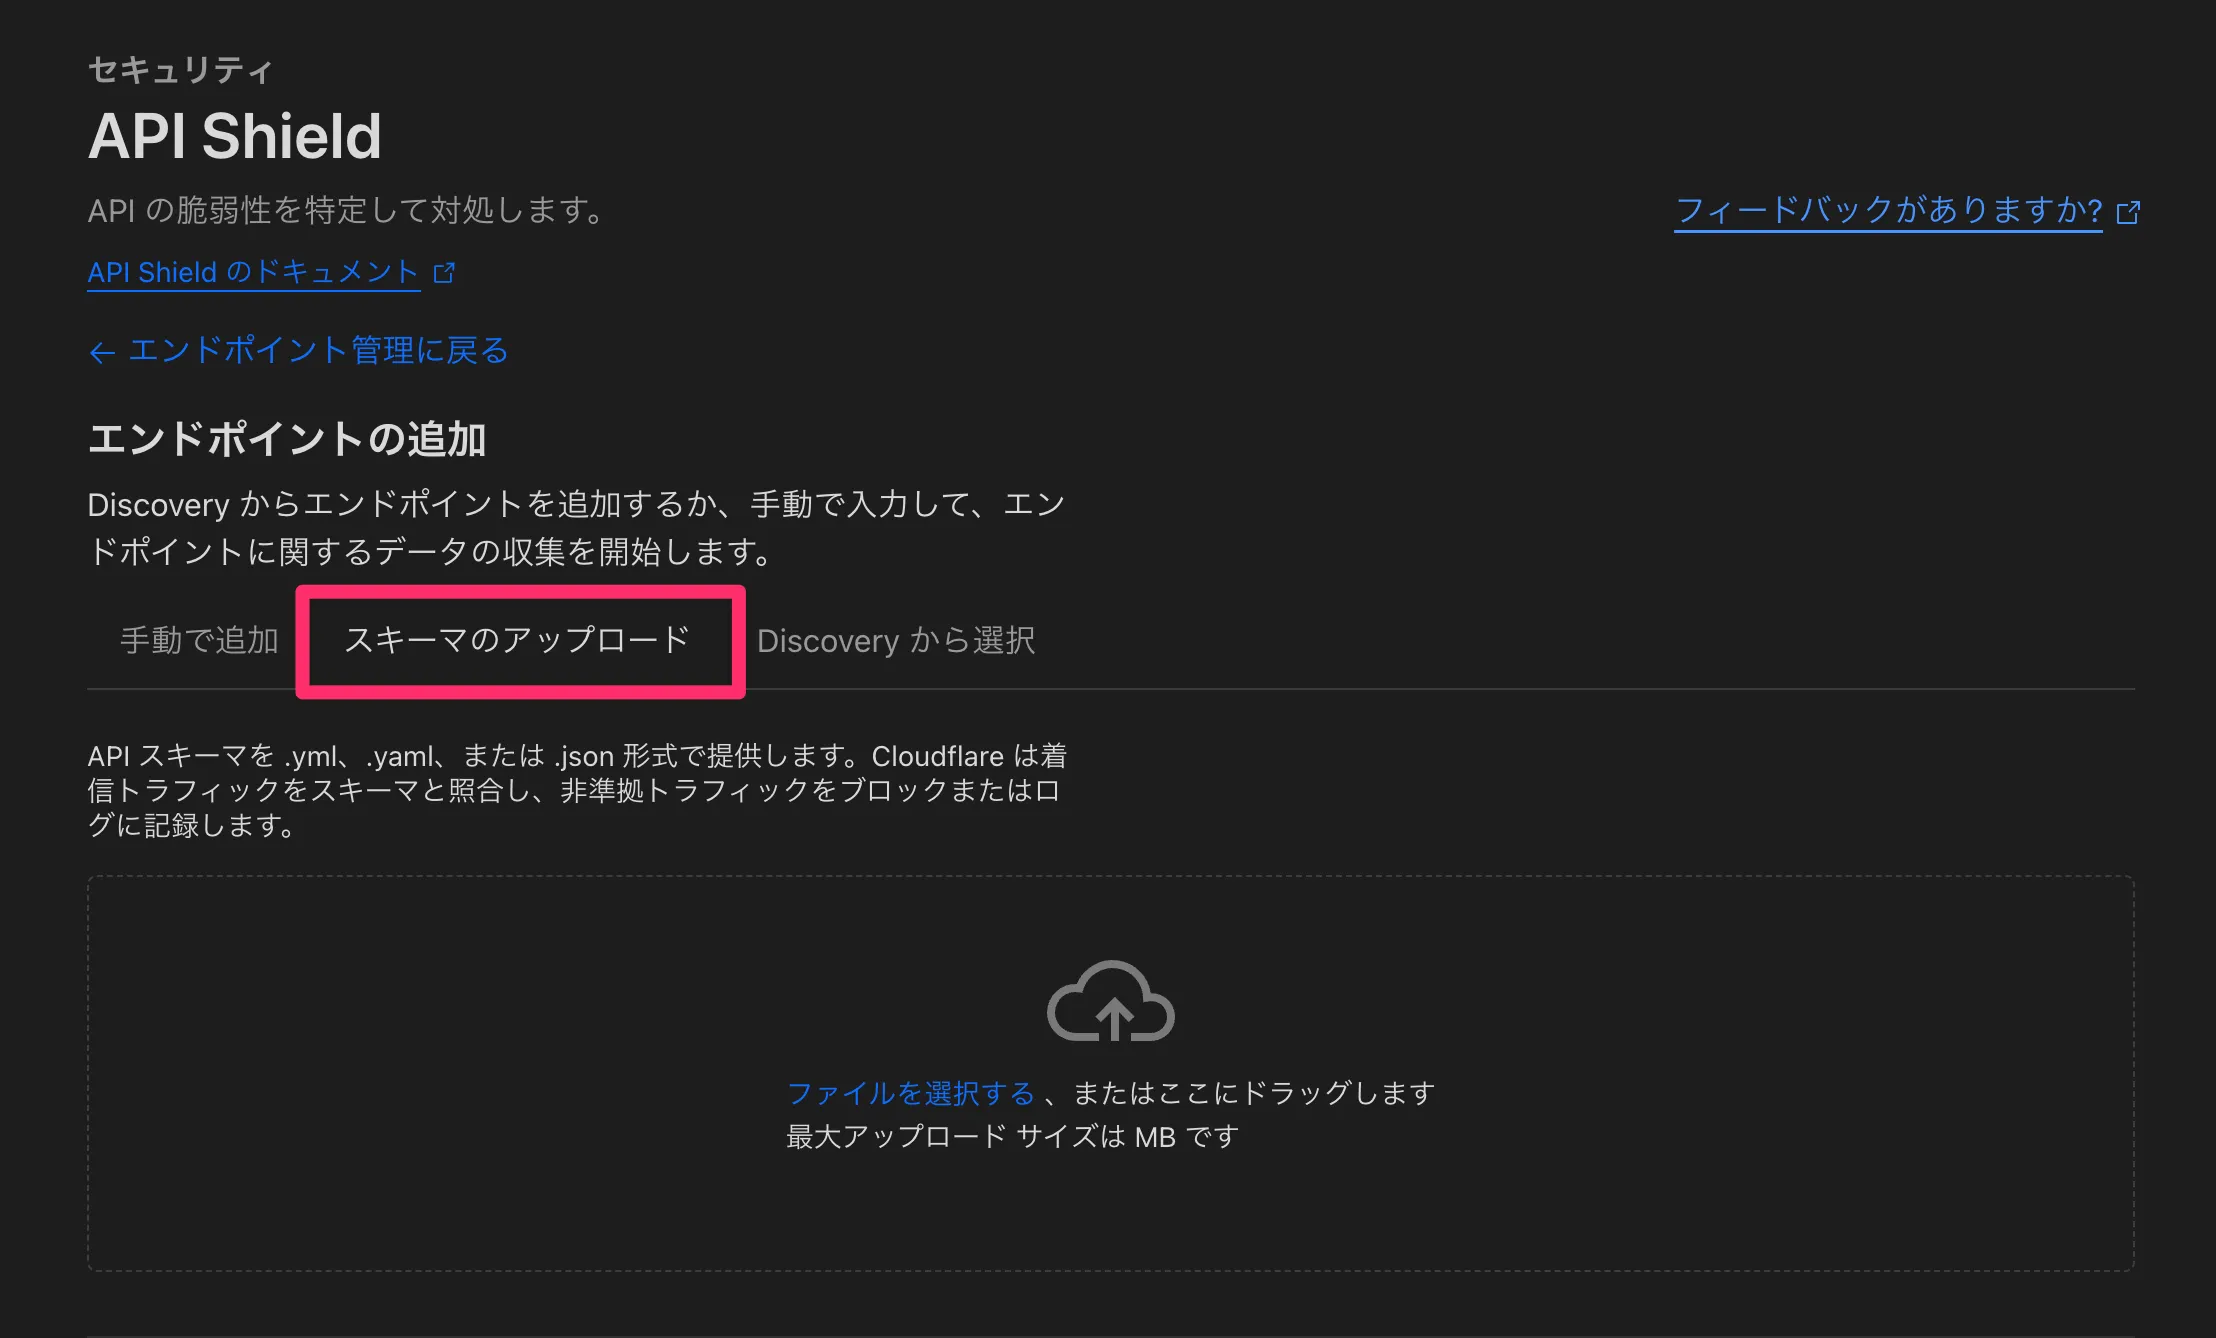
API スキーマは OpenAPI 3.0 に準拠した .yml、.yaml、または .json 形式で登録可能です。
今回は以下の定義を行った yaml ファイルを作成します。
/postパスに対して POST メソッドのみリクエスト可- content-type は
application/jsonのみ msgパラメータは string 型で必須
openapi: "3.0.0"info: title: "Sample API" version: "1.0.0"servers: - url: https://api.matsubara.cloudtags: []paths: /post: post: requestBody: content: application/json: schema: type: object properties: msg: type: string required: - msg responses: "200": description: okcomponents: {}作成したスキーマをアップロードすると、次のようにレビュー画面が表示されます。
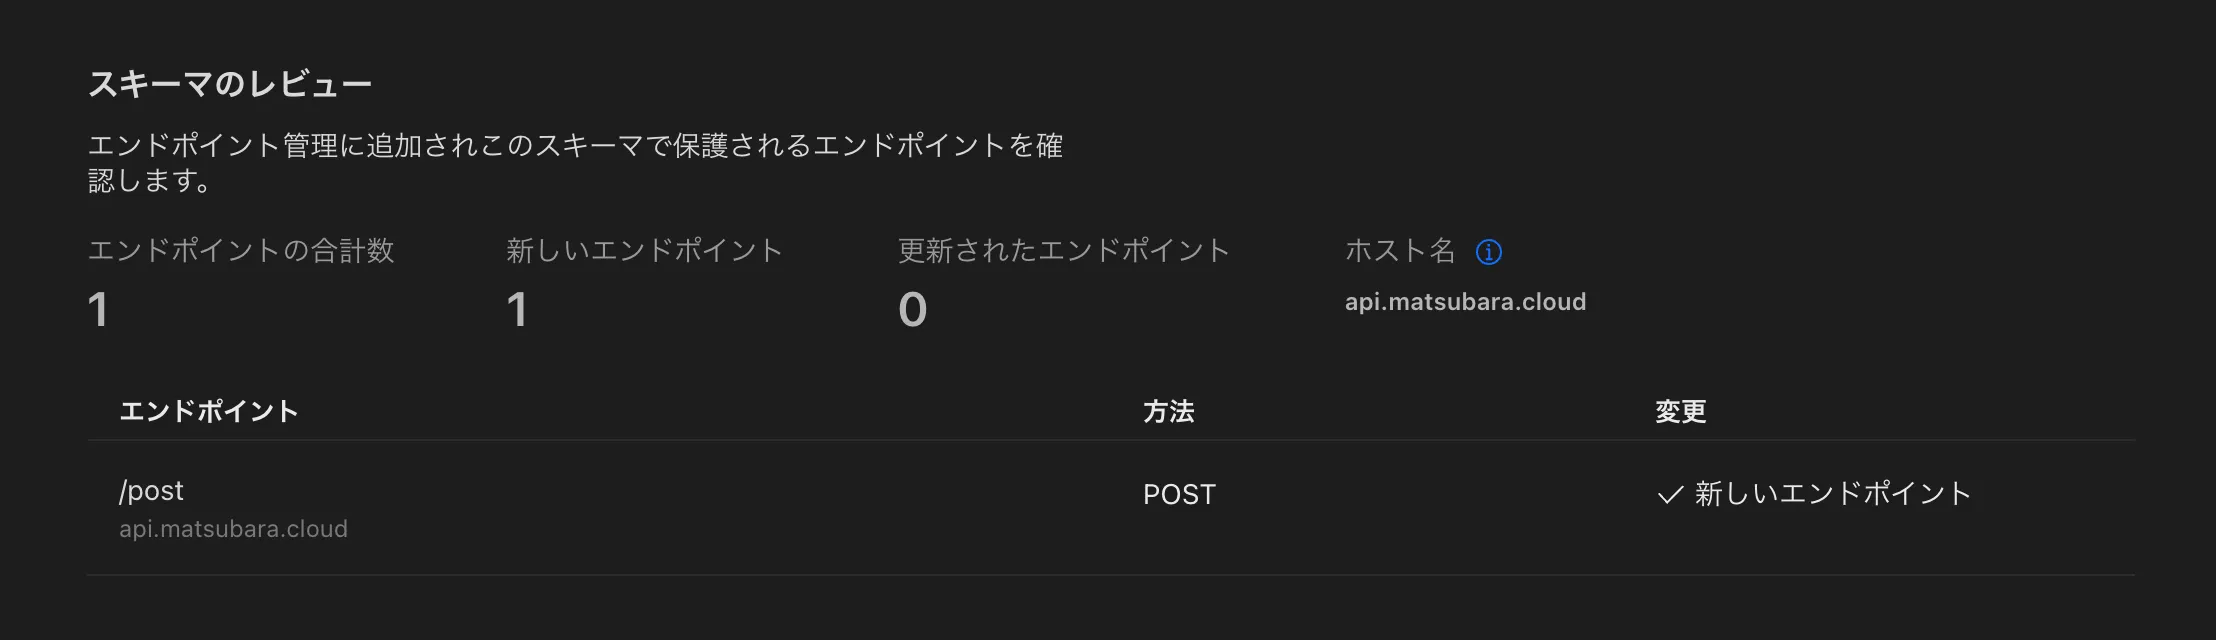
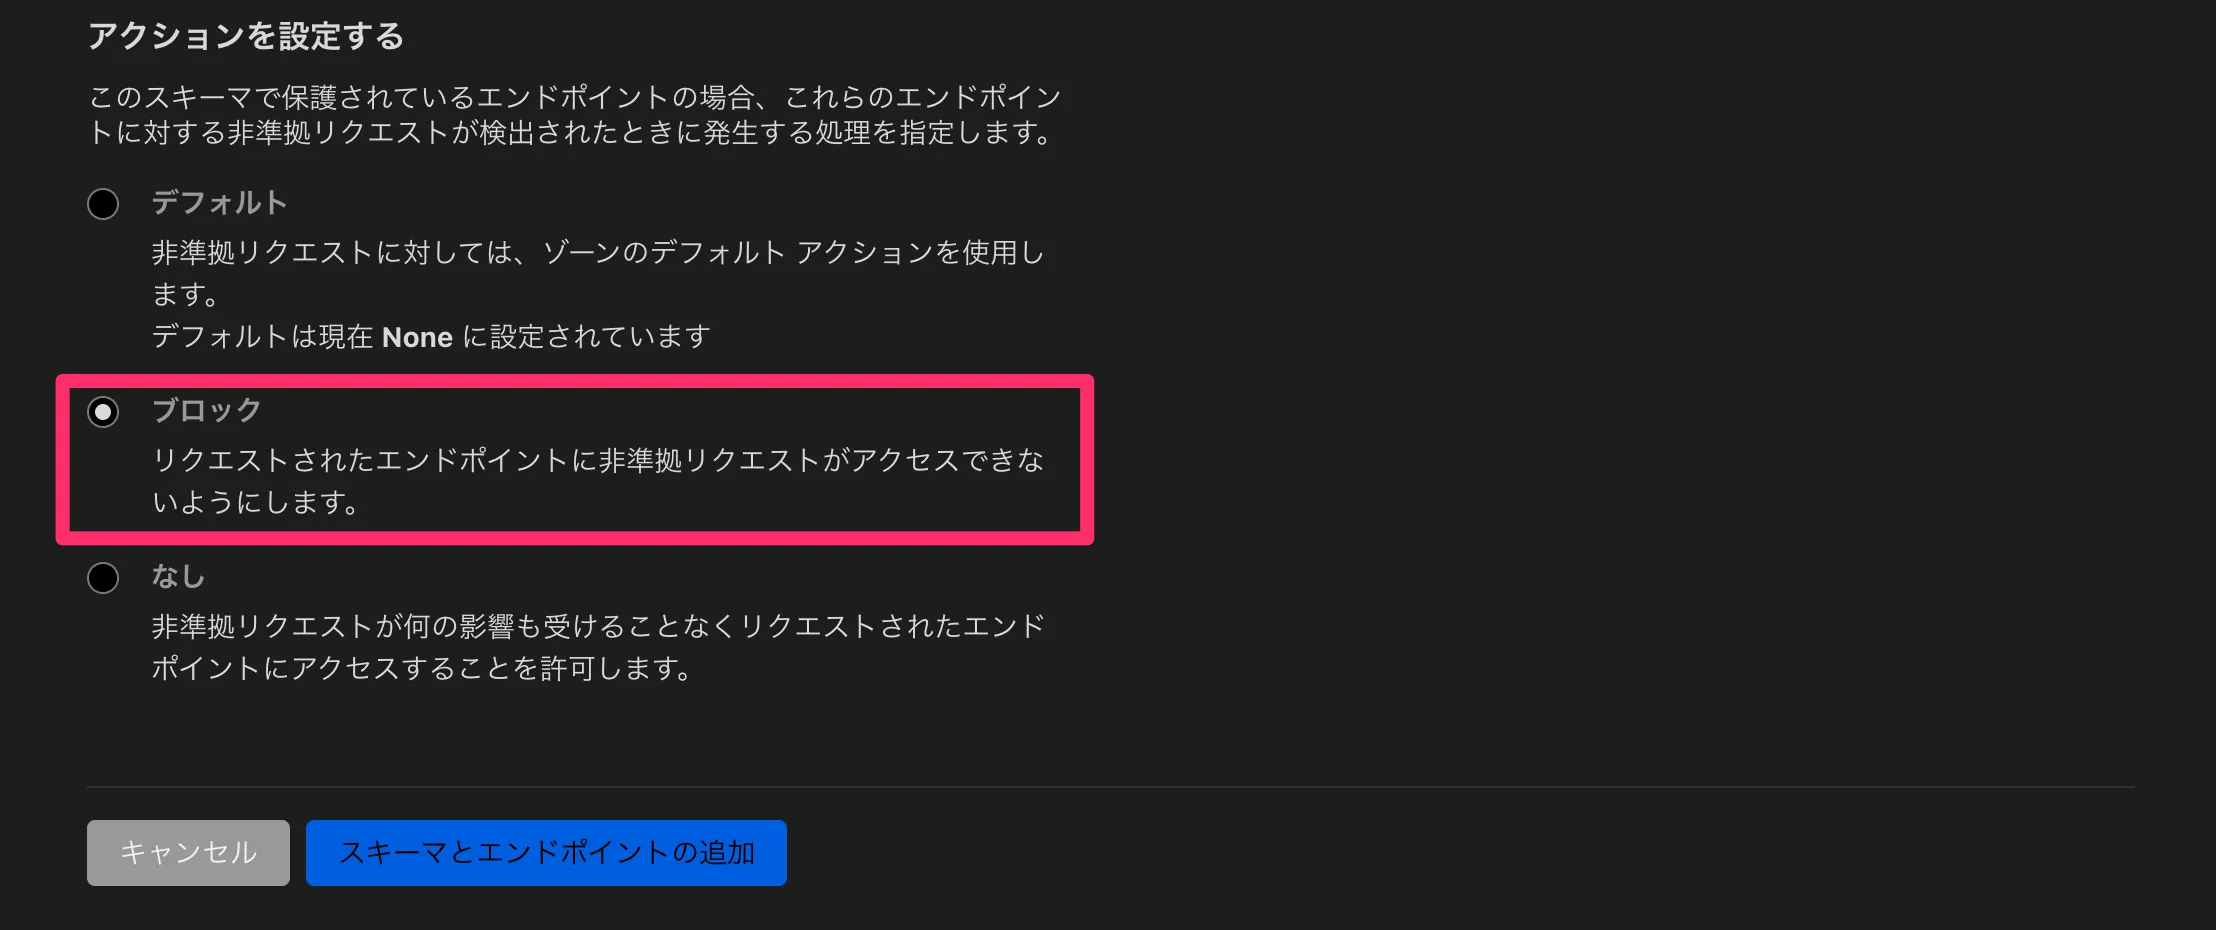
アクションを設定する の項目は「ブロック」を選択し、追加を実行します。
反映には数分かかるため、しばらく待ってから curl コマンドを実行します。
curl -X POST "https://api.matsubara.cloud/post" \--cert cf_client.pem \--key cf_client.key \-H "accept: application/json" \-H "Content-Type: application/json" \-d '{"msg": "hello"}'正常にレスポンスが返ることが確認できます。
{ "args": {}, "data": "{\"msg\": \"hello\"}", "files": {}, "form": {}, "headers": { "Accept": "application/json", "Accept-Encoding": "gzip, br", "Cdn-Loop": "cloudflare; loops=1", "Cf-Connecting-Ip": "2a09:bac5:4306:25e1::3c6:25", "Cf-Ipcountry": "JP", "Cf-Ray": "8e03a1e2dbdbe383-NRT", "Cf-Visitor": "{\"scheme\":\"https\"}", "Content-Length": "16", "Content-Type": "application/json", "Host": "api.matsubara.cloud", "User-Agent": "curl/8.10.1", "X-Amzn-Trace-Id": "Root=1-67304433-44531b7c1c0d7ffc281780a8" }, "json": { "msg": "hello" }, "origin": "2a09:bac5:4306:25e1::3c6:25, 172.71.8.49", "url": "http://api.matsubara.cloud/post"}次にリクエストボディを空にして curl コマンドを実行します。
curl -X POST "https://api.matsubara.cloud/post" \--cert cf_client.pem \--key cf_client.key \-H "accept: application/json" \-H "Content-Type: application/json" \-d '{}'これによりエラーが発生することが確認できます。
error code: 1020エラーの原因は、「イベント」ページで確認可能です。
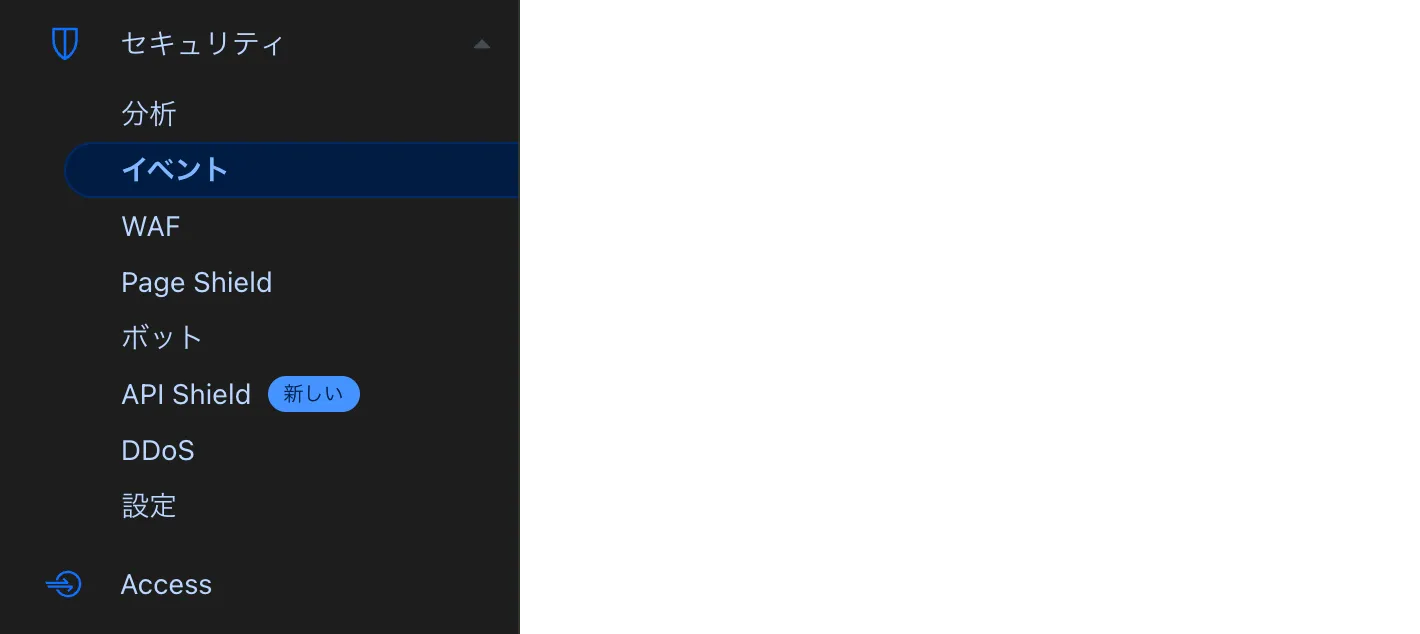
必須パラメータがないためエラーとなったことが表示されています。

次に、msg の値を数値に設定して curl コマンドを実行します。
curl -X POST "https://api.matsubara.cloud/post" \--cert cf_client.pem \--key cf_client.key \-H "accept: application/json" \-H "Content-Type: application/json" \-d '{"msg": 1}'このリクエストもエラーとなることが確認できます。
error code: 1020「イベント」ページからも、無効なデータ型が原因でエラーが発生していることが確認できます。

API Shield の Schema Validation 機能により、事前定義されたルールに違反するリクエストが適切にブロックされるようになりました。